

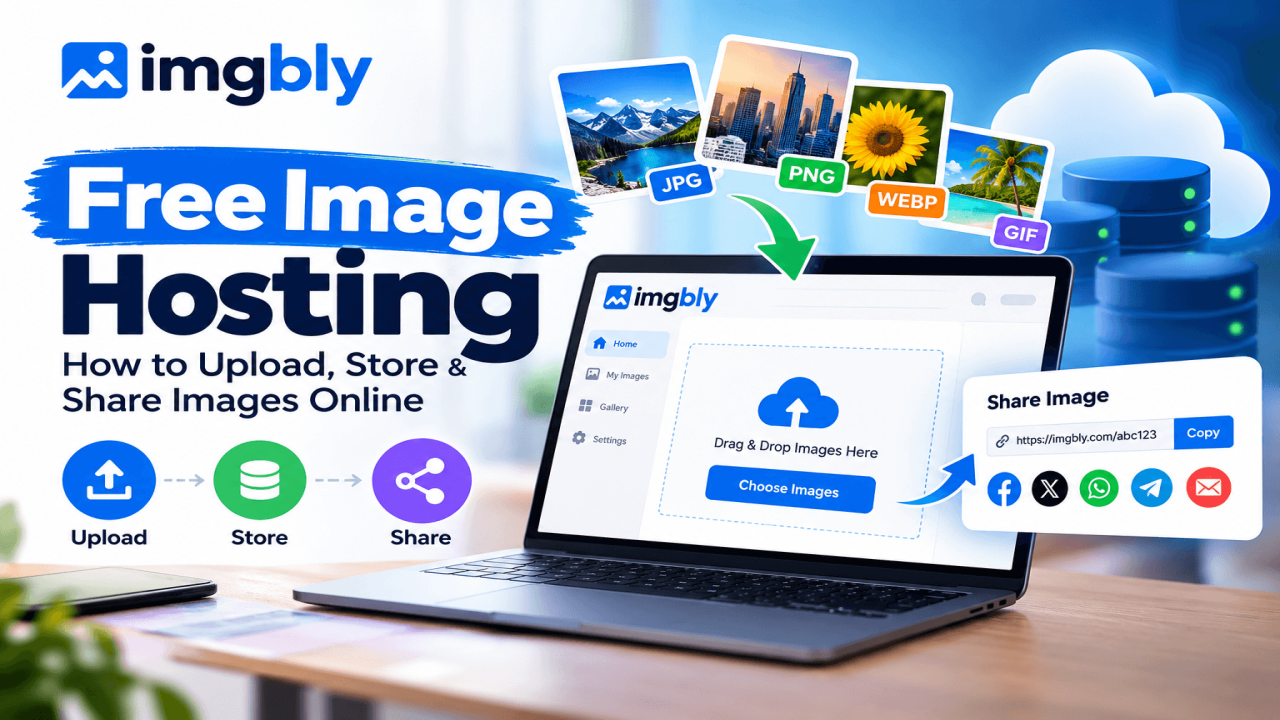
Free Image Hosting: How to Upload, Store & Share Images Online
Free image hosting has become a practical part of everyday online work because people no longer share only text. A small business may need to send product photos to customers, a blogger may need screenshots for a tutorial, a freelancer may want to show a design preview, a support agent may need to demonstrate an error, and an ordinary user may simply want to send a picture without attaching a large file to every message. In all of these situations, free image hosting gives you a simple workflow: upload an image to an online service, let the service store the file, receive a shareable URL, and send or embed that URL wherever it is needed. Instead of repeatedly uploading the same image to email, messaging apps, forums, or websites, you can keep one hosted copy and share its link.
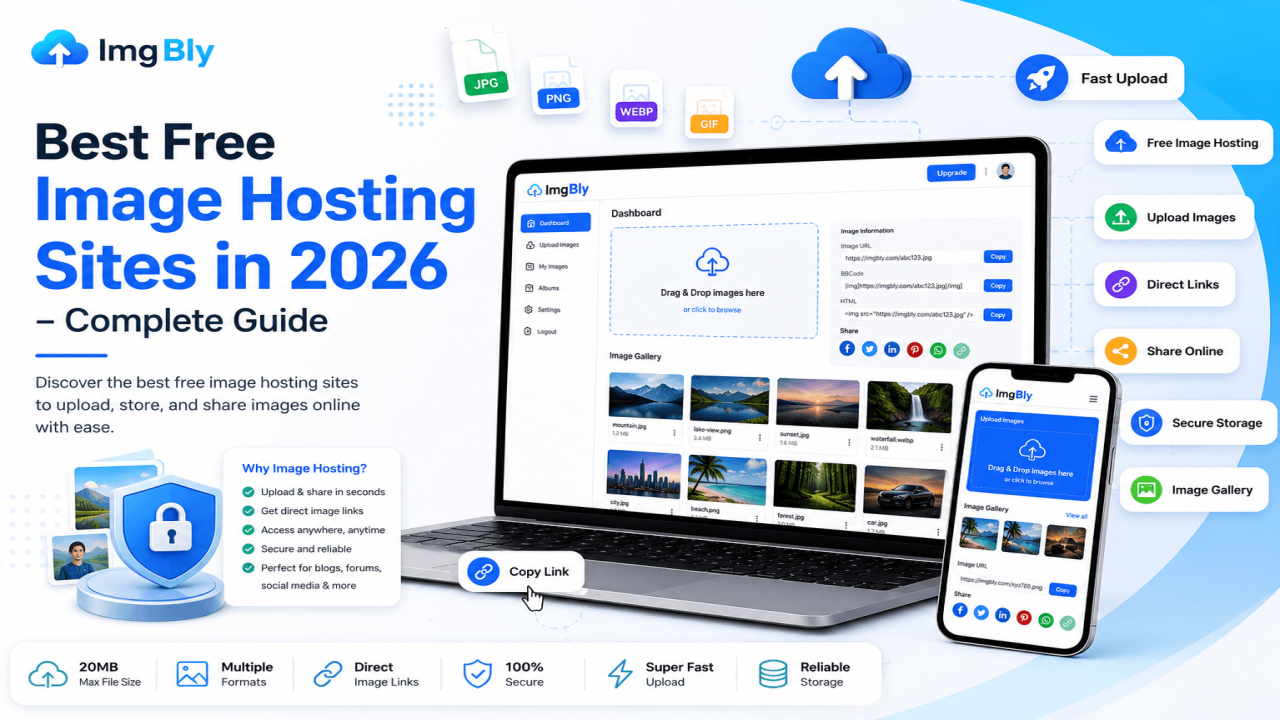
For beginners, this is useful because it removes many technical steps. You do not need to configure your own server, create a storage bucket, understand a content delivery network, or write complicated code just to make one image available online. A service such as ImgBly free image hosting is built around this simple upload-and-share idea, making it easier to move from a local file on your phone or computer to a link that can be opened online. However, “free” should never mean “upload anything without thinking.”
Before you use any image host, you should understand what you are sharing, who may be able to view it, whether the image contains private information, and whether you have the right to upload it. Business users should be especially careful with customer information, internal documents, order screenshots, ID documents, invoices, and other sensitive materials. Image hosting works best for content that is intended to be shared or embedded and that does not expose confidential data. It is also important to distinguish image hosting from a permanent backup service. Hosting is mainly about making images available online through links; backup is about maintaining protected copies that you control and can recover if a service changes, a file is removed, or you accidentally delete something.
This guide explains how free image hosting works, why it matters, how to upload, store, and share images in a beginner-friendly way, what mistakes to avoid, and what to check before relying on a hosted image for your business or personal workflow. The goal is not to make image hosting sound more complicated than it is, but to help you use it with good habits from the beginning so your links remain useful, your images are appropriate for sharing, and your workflow stays organized as you upload more files over time. Another benefit is that a hosted link can be easier to reuse across a team.
A designer can send a preview to a manager, the manager can forward the same URL to a client, and a support agent can reference it later without creating several identical attachments. That consistency also makes communication clearer because everyone is looking at the same hosted version. For content creators, hosted screenshots can support tutorials and knowledge-base articles; for sellers, they can help with non-sensitive product previews; and for communities, they can make forum conversations easier to follow. The important point is to treat the hosted copy as a sharing copy, not as the only copy that exists.
Why Free Image Hosting Matters for Beginners and Businesses
The main reason free image hosting matters is convenience, but its real value is the combination of speed, accessibility, and simpler sharing. Imagine that you need to show the same product image to five customers. You could attach the file five times, but that creates duplicate uploads, larger messages, and more work whenever the image changes. With image hosting, you upload once and share the resulting link. The same idea works for blog screenshots, project previews, portfolio samples, help-desk images, forum posts, community discussions, and documentation. A direct image link can also be useful when a platform accepts a URL instead of a local upload, while HTML or BBCode options can help when a website or forum supports embedding.
For a beginner business owner, this makes image distribution easier because team members do not need special software to open a normal web link. At the same time, free image hosting can reduce the temptation to use random file-sharing methods that are difficult to organize. A good workflow lets you name files sensibly before uploading, keep a simple record of important URLs, and separate public promotional images from private business documents. Another reason it matters is device flexibility. You may create a screenshot on a laptop, upload it, then open the link later from a phone or another computer without transferring the original file again.
That can be useful for remote work, customer support, and quick collaboration. Still, choosing the correct image format can make a noticeable difference. JPEG is commonly suitable for photographs and complex images where a smaller file can be more important than perfect pixel-by-pixel preservation; PNG is useful when you need lossless quality or transparency; WebP can provide efficient web delivery in many cases; and GIF is often used for simple animation, although newer formats may be more efficient depending on browser support and the use case. For a deeper technical explanation of common web image formats, you can consult the MDN image file type and format guide. The practical lesson is simple: do not upload a huge file just because you can. Choose a suitable format, resize an image to the dimensions you actually need, and avoid unnecessary quality that only increases upload time and bandwidth.
Free hosting is most effective when paired with basic image optimization and sensible privacy decisions. It gives you an easy publishing layer for images, but you should still keep original files that matter to your business. If an image is part of a product catalog, legal record, brand archive, client project, or paid work, store the original in your own organized backup as well. Then use the hosted copy for sharing, viewing, or embedding. This separation between “master file” and “shareable hosted copy” is one of the simplest professional habits a beginner can adopt. Accessibility also matters when images become part of a website or documentation.
A fast-loading file does not automatically make a good user experience if visitors cannot understand what the image represents. When you control the page where an image is embedded, use meaningful surrounding text and suitable alternative text rather than relying on the picture alone to communicate an essential instruction. For business use, think about brand consistency too. Repeatedly uploading differently sized versions of the same logo, banner, or product image can create a messy appearance. Keep an approved master version, create the sizes you actually need, and use a predictable naming system. These simple practices make a free tool feel much more professional.
Step-by-Step Guide: How to Upload Images Online for Free
To start using free image hosting, follow a repeatable step-by-step process rather than uploading files randomly.
Step 1: choose the image you actually want to share. Open it on your device and verify that it is the final version, not an old draft, duplicate, or screenshot containing private notifications. Zoom in and check corners, browser tabs, account names, email addresses, order details, and any other information that may have been captured accidentally.
Step 2: give the file a useful name before uploading. A name such as product-blue-front.jpg or checkout-error-step-3.png is easier to recognize later than IMG_48392.jpg. Avoid placing passwords, customer names, phone numbers, or other sensitive data in filenames.
Step 3: choose an appropriate format and size. If the image is much larger than needed, resize or optimize it first so it uploads faster and remains practical for viewers on mobile data.
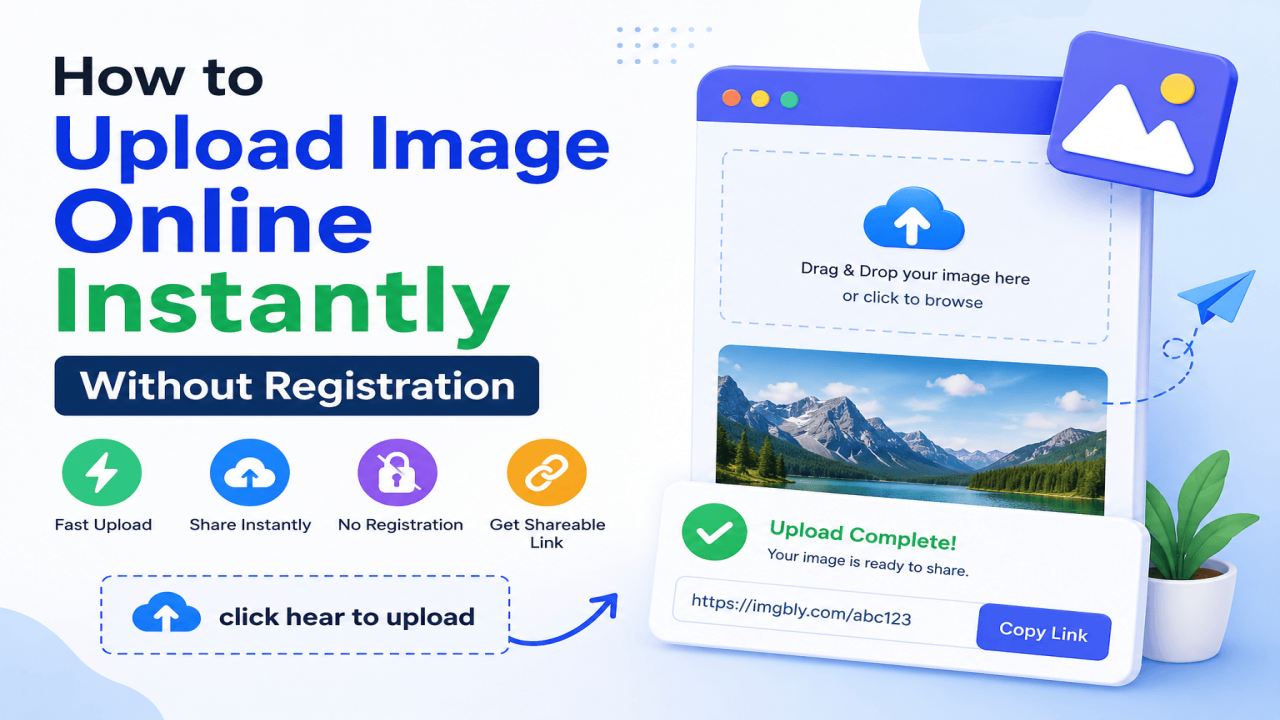
Step 4: open your chosen image host and use its upload area. On ImgBly, the upload workflow is designed around selecting or dropping an image and then receiving sharing options after the upload. If you want a focused walkthrough of the no-account approach, read the internal guide on how to upload images online free without registration.
Step 5: if the service offers optional privacy or file-management settings, review them before completing the upload. For example, if password protection or an auto-delete option is available for your use case, decide whether it is appropriate. Do not assume a password-protected image should contain highly sensitive records; use dedicated secure storage for confidential information. Step
6: start the upload and keep the browser open until it finishes. Large images and slow connections may take longer, so avoid refreshing the page in the middle of the transfer.
Step 7: copy the correct link. Some services may provide a normal share page, a direct image URL, HTML embed code, or BBCode. Choose the version that matches where you will use it. For a message to another person, a normal share link may be enough. For a website image element, a direct image URL may be more appropriate. For a forum, BBCode may be useful if the forum supports it.
Step 8: test the link before sending it. Open it in a new private or incognito browser window if possible. This helps you confirm that the link works for someone who is not signed in to your account.
Step 9: store important links in an organized place such as your project notes, content calendar, or asset list.
Step 10: keep the original image in your own backup if losing it would cause a problem. By repeating these ten steps, free image hosting becomes a controlled workflow rather than a collection of links that you cannot identify later.
Step 11: review the destination before publishing the link publicly. If you are posting in a customer-support ticket, make sure the ticket is the correct one; if you are adding an image to a blog, preview the page before publishing; and if you are sharing in a group or community, confirm that the audience is appropriate.
Step 12: if the image is part of a repeated business process, document the process for anyone else who may need to upload files later. A short note explaining preferred formats, maximum working dimensions, naming style, and where links are recorded can prevent inconsistent uploads. The upload itself may take seconds, but a repeatable method saves much more time as your image library grows.
How to Store, Manage and Share Hosted Images Properly
Once an image is uploaded, the next task is storing and sharing it in a way that remains understandable weeks or months later. The biggest beginner mistake is to think that receiving a URL means the work is finished. For a one-time casual image, that may be fine, but a business can quickly accumulate dozens or hundreds of hosted images. A simple asset record can prevent confusion. For each important image, keep the filename, purpose, upload date, hosted link, and where the link is being used. You do not need expensive digital asset management software for a small operation; a spreadsheet or project document can be enough.
If the same image appears in a blog post, support article, forum thread, and marketing campaign, record that relationship so you know what may be affected if you replace or remove the hosted file. When sharing, choose the right type of URL. A share-page link usually opens a web page that contains the image and possibly other controls or information, while a direct image link points more directly to the image resource. Embedding is different from simply sending a URL because the image is displayed inside another page or post. If you use HTML, the image address is normally placed in the source attribute of an image element; if you use a forum that supports BBCode, it may provide its own image tags. Beginners should avoid copying random pieces of code they do not understand. Use the embed option supplied by the hosting platform or the documented format supported by the website where you are posting.
Also think about audience and longevity before sharing. A public marketing banner and a screenshot sent to a trusted coworker have different risk levels. Even if a link is difficult to guess, you should not treat obscurity as strong privacy. If an image contains information that should remain confidential, do not rely on a public-style image host as the main protection. Review the host’s rules, privacy options, and account controls instead. ImgBly provides a dedicated FAQ page that can help beginners understand common questions about uploading, supported formats, direct links, accounts, storage, and sharing. For business use, it is also wise to test important embedded images after publishing. Open the final page on desktop and mobile, check that the image loads, confirm that it is sharp enough to read, and make sure the aspect ratio is correct. If a screenshot contains text, check readability on a small screen.
If a product photo is critical to a sales page, avoid using a tiny source image that becomes blurry when displayed larger. Good free image hosting is not only about getting a link; it is about creating a dependable path from the original file to the viewer without losing context, exposing private data, or creating an unmanageable library of unknown URLs. It is also useful to separate temporary and long-term sharing. A temporary screenshot used to solve a single support problem does not need the same record-keeping as a banner that will appear on your website for a year. Decide which category an image belongs to before you upload it. For temporary material, consider whether an auto-delete option fits the purpose and whether the recipient will have enough time to view the image. For long-term public material, favor stable organization, backups, documented URLs, and periodic checks.
Common Free Image Hosting Mistakes to Avoid
There are common mistakes that can make free image hosting less useful. Fortunately most of these mistakes are easy to avoid.
The first mistake is uploading information without checking the image. Screenshots are especially risky because they can contain names, email addresses, account numbers, browser tabs, private conversations order information or notification previews.. Redact any information that should not be public. If the material is confidential use a sharing system that is designed for privacy instead of a normal free image hosting. The second mistake is uploading content that you do not have permission to distribute. Hosting a file online does not give you ownership. Use your own images properly licensed assets or material that you are authorized to share. Respect the rules of the platform.
The third mistake is treating images from image hosting as the only copy. A link can stop working for reasons, such as accidental deletion, policy enforcement, account problems, technical changes or service changes. Keep cloud backups of important originals. The fourth mistake is sharing the wrong link type from free image hosting. If a website expects an image URL but you paste a normal share page the image may not embed correctly. Test the link in the place where you plan to use it. The fifth mistake is uploading files to free image hosting. A photograph exported at camera resolution may be far larger than a blog or support post requires.. Compress sensibly so viewers do not wait unnecessarily.
The sixth mistake is using filenames and keeping no link record for images on free image hosting. When every file is named image1, final2 new-final or screenshot-2026 future maintenance becomes difficult. Use names and track important links. The seventh mistake is assuming that free image hosting means unlimited in every way. Free services can have limits on file size, storage, upload, bandwidth, features or accounts. Those limits can change. Check the service page instead of building a critical workflow around an old number from a blog or screenshot.
The eighth mistake is not testing from outside your account for images on free image hosting. A link that works while you are logged in may behave differently for another viewer. Open it in a browser and test from another device when the image is important. The ninth mistake is forgetting accessibility and context when using free image hosting. If you embed an image on your website add useful alternative text when appropriate so people using assistive technologies are not left without context.
The tenth mistake is using image hosting as a substitute for a complete website performance strategy. Hosting can make sharing easier. Your page may still need sensible dimensions, responsive layout, caching and optimized formats. Finally do not delete a hosted image from image hosting until you know where its URL is used. Removing a file that appears in an article, documentation page or customer message can create broken content. A short review before deletion is much easier than trying to repair links later.
Another common mistake is forgetting that an image from free image hosting can reveal information through context when obvious text has been cropped. A photo may show a shipping label in the background a computer screen may expose a dashboard or a screenshot may reveal an account reference, in a corner. Review the frame, not just the part you expect people to notice. Finally avoid over-editing images from image hosting solely to reduce file size. Excessive compression can make text, diagrams, receipts or interface screenshots hard to read defeating the purpose of sharing them.
Free Image Hosting Checklist Before You Upload
Before you upload an image use a checklist that keeps quality, privacy and future use in mind. Look at the image first: is this the final image? Is it free from customer details, passwords, account information, hidden browser tabs, addresses or any other data that should not be shared? Do you own the image. Have permission to use it? Then check the details: is the file format right for the content? Is the resolution good for where the image will be used? Can the file be. Compressed without making important parts hard to see? Is the filename clear so you can remember what it is later? Next think about where you're hosting the image: does the service support the format you are uploading? Are the free-plan limits for your file and how you plan to use it? Does the platform give you the share link or embed code you need?
If the image should not be shared widely is image hosting the best choice or should you use something more controlled like a private storage or collaboration tool? While uploading make sure you picked the file wait for the process to finish and do not refresh the page too soon. After uploading copy the URL instead of the first link you see. Open the link in a tab then test it in a private browser window. If you plan to use the image on a website, forum, blog, documentation page or support center test the embed in the place instead of assuming it works. Check how the image looks on desktop and mobile its sharpness orientation, cropping and how fast it loads. If the image has text make sure the text is still easy to read on a screen. For business images add one step: write down the hosted URL original filename, purpose, date and where it is used.
If the image is important keep the original in your backup and when helpful keep an optimized version for publishing separately. If you update the image later decide if you need an URL or if the platform allows replacing the image without breaking old links. If you plan to delete it search your website, documentation and notes to make sure the old link is no longer needed. You can also check your hosted images regularly to get rid of copies, old drafts and files that are not useful anymore as long as they are not still being used. This checklist may seem longer than the upload but once it becomes a habit it takes very little time. The main idea is that free image hosting should make your work easier not create a mess of links. A few seconds of checking and after each upload can stop privacy issues, broken links, slow pages and lost files.
For people who are just starting out being consistent is more important than using tools: use clear filenames, reasonable sizes the right formats, tested links and keep backups of anything you cannot afford to lose. If you work with others add ownership to the checklist well. Decide who owns the version of the image, who can upload changes and where the approved link should be kept. This is especially helpful, for marketing banners, documentation images, product graphics and images used in campaigns. A clear owner helps avoid situations where two people upload different versions and both links start spreading. As your needs grow you can later move to an advanced system without losing the good habits you built here.
FAQ: Free Image Hosting Questions for Beginners
Frequently asked questions can help beginners decide when free image hosting is appropriate.
What is free image hosting?
It is an online service that lets you upload an image, store a hosted copy, and receive a URL that can be used to view, share, or sometimes embed the image.
Do I need technical skills?
Usually not; a typical workflow is selecting or dragging a file, waiting for the upload to complete, and copying the generated link.
Do I always need an account?
That depends on the service and its current settings. Some platforms allow quick uploads without registration, while an account may provide better management of your files.
What types of images can I upload?
Common web formats include JPEG, PNG, WebP, and GIF, but the exact supported list depends on the host, so check the upload page before relying on a particular format.
Is free image hosting the same as cloud backup?
No. Hosting is mainly for making an image accessible online, while backup is for preserving recoverable copies under a storage plan you control. Keep important originals separately.
Can I use a hosted image on my website?
Often yes, especially when the host provides a direct image URL or embed code, but you should confirm that the platform allows your intended use and then test the result on your page.
Can I upload customer documents or private records?
A normal public-style image host is not the right default for confidential records. Use a service designed for secure private storage and access control when information is sensitive.
Will an image stay online forever?
You should never assume permanent availability simply because a service is convenient today. Read the current terms, keep backups, and avoid making a single hosted URL your only copy of important business material.
How do I make uploads faster?
Resize unnecessarily large images, choose an efficient format, compress where appropriate, and use a stable internet connection.
What should I do if a link does not work?
First recopy the URL, test it in another browser, check whether the file still exists in your account or upload history, and confirm that you are using the correct share or direct link.
Is free image hosting useful for businesses?
Yes, it can be useful for product previews, blog screenshots, support images, documentation, design proofs, and other non-confidential visuals, especially when you want a fast link instead of repeatedly attaching the same file.
The best way to begin is with one low-risk image: prepare it, upload it, test the link, and share it where needed. Once that process makes sense, use the same organized workflow for future images. Free image hosting is most valuable when it stays simple: upload carefully, store important originals elsewhere, share the correct link, and keep track of what matters. If you are ready to try the process, visit ImgBly, choose an image that is safe to share, upload it, copy the appropriate link, test it, and then use that link in your message, blog, forum post, or other permitted destination.
That small workflow can turn image sharing from a repeated file-transfer task into a fast, reusable part of your online routine. One final question is whether you should choose free hosting or a paid plan. The answer depends on your volume, file sizes, privacy needs, management features, and how important the images are to your business. Start simple, then upgrade only when your actual requirements justify it.
Conclusion & CTA
Free image hosting can be one of the simplest ways to move an image from your device to the web and make it easy to share with customers, readers, coworkers, communities, or website visitors. The process does not need to be technical: prepare the correct image, choose a suitable format and size, upload it, copy the correct link, test that link, and keep the original file backed up when it matters. For businesses, a little organization makes the process much more valuable. Clear filenames, recorded URLs, privacy checks, appropriate image sizes, and periodic reviews can prevent many common problems before they happen. At the same time, always remember that convenience should not replace security.
Confidential customer data, private records, passwords, identity documents, or other sensitive material belong in systems designed for controlled private access rather than ordinary public image sharing. For normal screenshots, product previews, blog graphics, GIFs, documentation images, design previews, and other shareable visuals, however, free image hosting can provide a quick and practical workflow.
If you are ready to begin, choose a non-sensitive image, upload it to ImgBly, copy the appropriate sharing or direct link, open that link in another browser to verify it, and then share it in the destination you intended. Starting with one carefully prepared image will help you understand the entire process in just a few minutes. From there, you can build a simple, organized image-sharing system that works for both personal projects and everyday business needs.
Comments (0)