

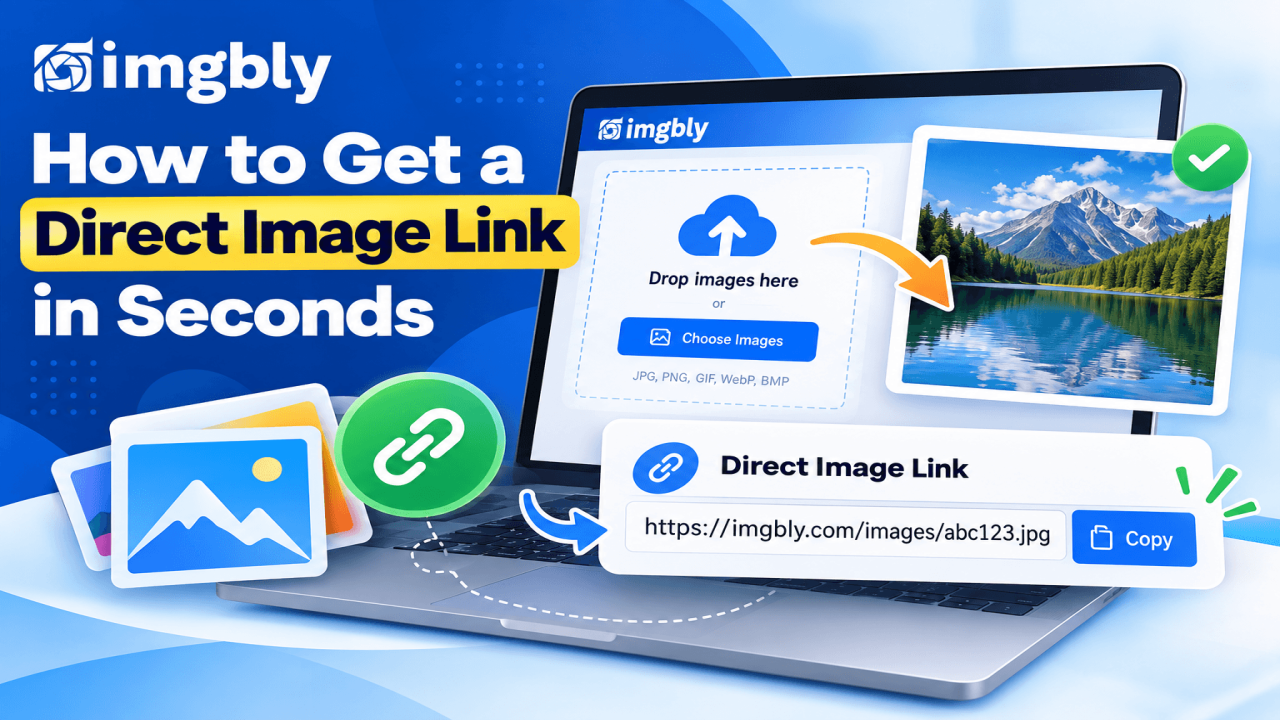
How to Get a Direct Image Link in Seconds
Getting a direct image link sounds technical at first, but the idea is simple: you upload an image to an online image host, the service stores the file on its server, and it gives you a URL that points to that image. When someone opens that URL, the image itself can load in the browser without requiring you to attach the original file again. This is useful for bloggers, website owners, online sellers, support teams, students, designers, developers, forum users, and anyone who regularly shares screenshots, banners, product photos, graphics, or GIFs.
A direct image link is different from a normal webpage link. A webpage link usually opens a page that contains the image together with buttons, menus, ads, captions, or other information. A direct link is intended to reference the image file itself, which makes it especially convenient when you want to embed an image in HTML, use it in a forum post, include it in documentation, or quickly send a picture without repeatedly uploading the same file.
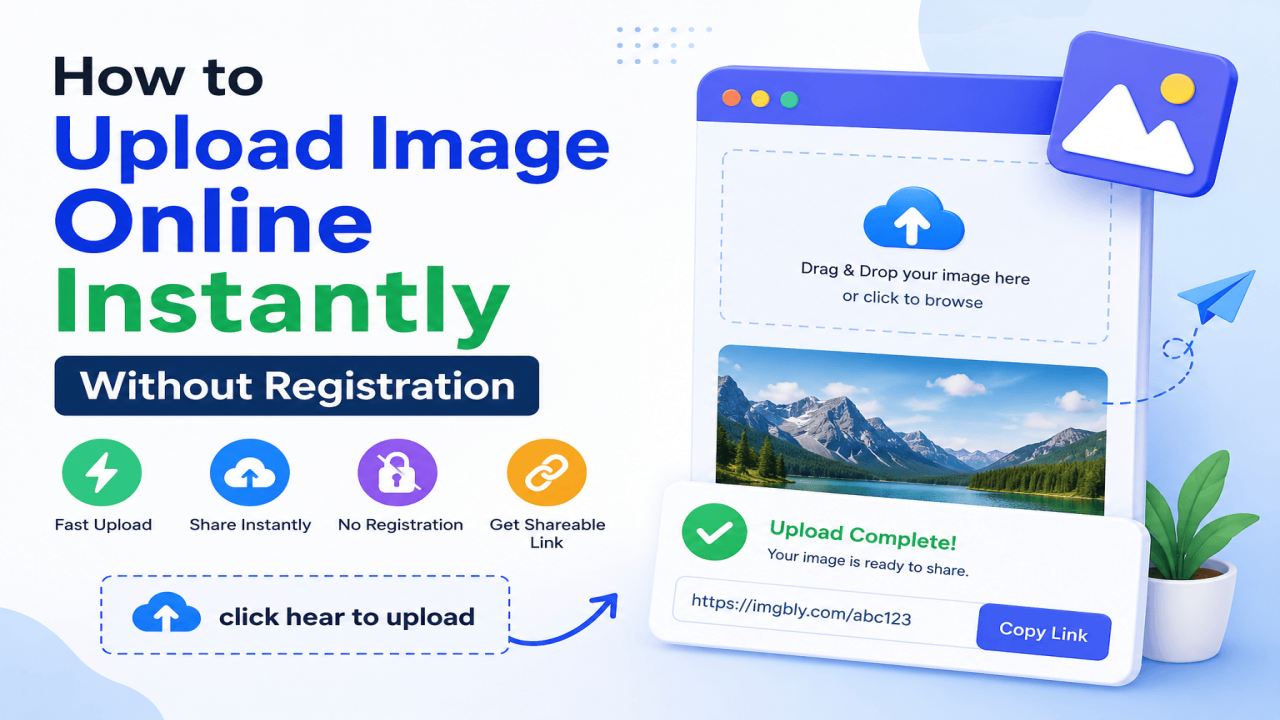
With ImgBly, the workflow is designed to be straightforward: choose or drag an image into the uploader, upload it, and copy the generated link. You can start from the ImgBly image upload page whenever you need a quick hosted image URL. For a beginner, the most important thing is not to overcomplicate the process. You do not need to understand web servers, DNS, storage infrastructure, or coding just to get a usable direct image link.
You only need the image, an internet connection, and a hosting service that provides a direct URL after upload. Before uploading, however, check that the file is the correct image, does not contain private information, and is in a supported format. Screenshots often include email addresses, account names, order numbers, browser tabs, notifications, or other details that you may not want to expose publicly, so review the image first. It is also wise to use a clear filename when possible, because organized files are easier to recognize later.
Once the image is hosted, treat the link like any other shareable URL: anyone who receives a public link may be able to open it. This guide explains how to create the link in seconds, how to verify that it is truly a direct image URL, how to use it safely, what mistakes beginners often make, and what to check before sharing it. The goal is a process you can repeat confidently whenever you need fast image sharing online. One useful way to think about the process is to compare it with giving someone a street address instead of carrying the same package to them again and again.
The image remains stored in one place, while the URL tells browsers where to request it. That makes direct links especially handy when several people need access to the same visual or when one image must appear in several online locations. It also explains why deleting the hosted image can break every place that depends on that address. For business use, create a small naming habit before upload, such as including a project name, product name, or date in the local filename. Even if the public URL itself is generated automatically, having an organized original file makes replacement and troubleshooting easier later. If you work with clients, record where each important image link is used so future updates do not become a guessing exercise.
Why a Direct Image Link Matters
Why does a direct image link matter when you could simply attach a photo to an email or messaging app? The answer is flexibility. Attachments are tied to the platform where you send them, while a hosted image URL can be reused across different websites and communication channels. Imagine that you need to show the same screenshot to a customer in a support chat, include it in a blog draft, place it in an HTML page, and share it with a colleague. Reattaching the file four times is possible, but uploading once and reusing one URL is usually faster and easier to manage. A direct image link can also be helpful when a website, forum, CMS, ticketing tool, or form asks for an image URL rather than a local file.
In web development, an image address can be placed in the src attribute of an HTML <img> element so the browser knows which image resource to load; MDN’s HTML image element reference explains that the src value identifies the image URL used by the element. For non-technical users, the practical takeaway is simple: the link becomes a reusable address for the hosted image. It can save storage in chats, reduce repeated uploads, and make collaboration smoother.
It is also useful for product previews, design approvals, troubleshooting screenshots, temporary visual references, tutorials, social discussions, portfolio samples, and community posts. However, convenience does not remove the need for good judgment. If the picture is confidential, contains personal data, belongs to someone else, or is protected by copyright, uploading it publicly may not be appropriate. Only share content you have the right and permission to distribute, and use privacy or password options when the situation calls for restricted access. Another reason direct URLs matter is clarity.
When someone receives a normal image-page link, they may have to find the actual picture among surrounding page elements. A direct image link is cleaner for uses that expect an image resource. This distinction becomes important when embedding images in webpages or apps because those systems may require a URL that resolves to an image rather than a gallery page. It is also useful to know that “share link,” “viewer link,” and “direct link” can refer to different outputs on hosting services. Beginners often copy the first URL they see and assume it is the direct file address. A quick verification step prevents that confusion. Understanding the purpose of the link before copying it helps you choose the right format, avoid broken embeds, and share your image in the most practical way for the platform you are using. There is also a practical difference between convenience and permanence.
A link can be convenient today without necessarily being the best permanent home for a mission-critical website asset. If an image is central to your company website, ecommerce catalog, or long-term documentation, decide whether you need your own managed storage, a CDN, or another controlled system. For quick sharing, review, support, and lightweight embedding, a direct image link can be ideal; for core production assets, think about ownership, backups, availability, and change management as well. Another benefit is consistency in communication. When everyone on a team uses the same verified URL, there is less chance that one person sends an outdated version while another sends a newer file.
That matters during design approvals and troubleshooting, where a small visual difference can lead to confusion.
Step-by-Step Guide to Get a Direct Image Link
The fastest way to get a direct image link is to follow a simple upload-and-copy routine. First, prepare the image on your phone or computer and make sure you are comfortable sharing everything visible in it. If it is a screenshot, crop out unnecessary personal information before uploading. Second, open ImgBly in your browser and choose the upload area. You can select an image from your device or use drag and drop on a desktop browser. ImgBly currently accepts common image formats such as JPG, JPEG, PNG, BMP, GIF, and WebP, so most everyday screenshots, photos, graphics, and animations can be uploaded without conversion. Third, wait for the upload to finish.
The time depends on your connection and file size, but the important point is to let the process complete before copying anything. If you prefer a no-account workflow, you can also read the ImgBly guide on how to upload images online without registration, which explains the basic idea of uploading and obtaining a shareable URL without creating another account. Fourth, after upload, look for the direct-link option rather than assuming every displayed URL is the same. Depending on the result page, you may see a page link, HTML code, BBCode, or a direct image address.
The direct link is the one you want when another service asks specifically for an image URL. Fifth, copy that URL using the copy button if one is provided; this reduces the chance of missing a character. Sixth, verify the link. Open a private/incognito tab or a different browser tab, paste the URL, and load it. A working direct image URL should display the image resource properly. If it takes you to an image information page instead, return to the upload result and copy the specific direct-image field.
Seventh, test it in the actual place where you intend to use it. For example, if you are adding it to a website builder, paste it into the image URL field and preview the page. If you are using HTML, place the link inside an image source attribute with appropriate alt text. If you are posting to a forum, check whether the forum needs the direct URL, BBCode, or its own upload method. Finally, save the URL somewhere sensible if you will need it again.
A notes app, project document, content calendar, or support ticket can be enough. This entire process can take only a short time once you know where the direct-link option appears, and repeating the same verification habit will prevent most sharing problems. For mobile users, the same logic applies even though the screen looks different. Open the site in your mobile browser, choose the image from your gallery or file picker, complete the upload, and copy the generated URL.
If your phone automatically opens a sharing sheet, be careful not to confuse “share this page” with “copy direct image link.” The names of buttons can vary by browser and device, so focus on the result rather than the wording: you want the URL that displays the hosted image correctly. If the destination is important, test the link using mobile data as well as Wi-Fi when practical; this can reveal whether you accidentally copied a local, temporary, or session-specific address. Business teams can standardize the workflow by writing one short internal instruction: upload, copy direct URL, verify in a fresh tab, then paste into the required system.
Common Mistakes to Avoid
When uploading a picture is simple many common errors can cause a direct image link to fail or create extra risk. First copying the browser address bar while you are on the page of the image can bring trouble. That address may point to a viewer page, not the image file URL. A viewer page can work when someone clicks it by hand. It often fails inside a website field that expects a pure image resource. Always use the labeled direct-link button when it exists. Second skipping a check of the link is common. A copied link may have a missing letter, a hidden space or the wrong type of URL. Open the link in a tab before you send it; a few extra seconds are worth the safety.
Third uploading a screenshot that holds data without first reviewing it is risky. A support screenshot can show an email address, account ID, billing detail, private chat, API key, browser bookmark, IP address or notification. Crop, blur or delete any parts before you share it. Fourth treating a public image host as a backup is a mistake. Image hosting helps share. You should still store important originals in your own secure backup place. Fifth, removing or letting an image expire and then hoping the old link will still work is wrong. When a file is gone the old link stops showing the image. That can break blog posts, forum posts, docs or product pages that rely on it. Sixth ignoring the rights for the image is dangerous.
Do not upload copyrighted, confidential, illegal or harmful material just because the host makes it easy. You remain responsible for any image you choose to share. Seventh confusing HTML or BBCode with the direct image URL is a mistake. Those snippets are useful on some sites. A form that asks for "Image URL" usually wants the plain image address, not an entire embed snippet. Eighth using an image that's too large is wasteful. Huge images take longer to upload and load on mobile.. Compress the image when you can keep text readable and clear details. Ninth forgetting that people can forward the link is an error. If the image should stay private use access controls of assuming the image link stays secret.
Tenth not adding context is a mistake. A direct image can show the picture. Image alone does not explain what image is. When sharing with a client or colleague add a note such as "homepage header draft" or "checkout error screenshot." Another mistake is thinking that a file extension alone proves the URL is direct. Many direct image URLs end in.jpg.png.gif..Webp, but some hosts use paths that do not look obvious. The best test is to see if the URL returns and shows the image correctly in its place. Do not alter characters in a generated URL to make it look cleaner.
One wrong character can send you to a place or break the link. If you need a link, for a presentation first check if the destination accepts a shortener because some systems require the original image URL. Also avoid using an image host to distribute files that're not images.
Direct Image Link Checklist
Before you send or publish a direct image link, use a short quality-and-safety checklist. Confirm that you uploaded the correct file and not an older draft with a similar filename. Open the image at full size and check that it is sharp enough for the intended use, especially if it contains text, product details, charts, receipts, or interface screenshots. Review the edges of the image for accidentally captured browser tabs, contact details, timestamps, usernames, account balances, addresses, or other information that should not be public. Confirm that you have permission to share the image and that it does not violate another person’s privacy or intellectual-property rights. Make sure the upload has completely finished before copying the URL.
Choose the direct-link field instead of the page-view link if your destination specifically requires an image address. Copy the URL with the provided button where possible, then paste it into a new tab and confirm that it loads. If the image is intended for a webpage, test the URL in the actual CMS, HTML template, page builder, or application where it will appear. If the destination supports alternative text, write meaningful alt text that describes the purpose of the image rather than stuffing keywords into it. If the image is temporary, note when you plan to remove it so you do not accidentally create a broken reference later. If it is part of a long-term article, guide, documentation page, or product listing, keep a local copy of the original image in your own storage.
Decide whether the image should be public or restricted; when access needs to be limited, use appropriate privacy or password features rather than relying on an unshared URL alone. Keep the final link in a project note if several people will reuse it, and label it clearly so team members know which image it points to. For additional platform-specific answers about formats, uploading, storage, sharing, and generated links, the ImgBly FAQ is a useful internal reference. This checklist may sound longer than the actual task, but most points take only seconds once they become a habit. The practical sequence is simply: inspect the image, upload it, select the correct link type, verify the URL, test it where it will be used, and share only when you are satisfied.
Those few checks reduce broken images, wrong-file uploads, privacy mistakes, and confusing links. For a beginner business user, this routine is especially valuable because screenshots and product images often become part of customer support, marketing, documentation, and sales communication. A reliable direct image link should not only work; it should also point to the right content, be appropriate to share, and remain understandable to the people receiving it. For teams, you can turn this checklist into a lightweight standard operating procedure without making it bureaucratic.
For example, a support agent could verify that the screenshot hides customer information, upload it, copy the direct URL, test it, and paste both the link and a one-line description into the ticket. A content writer could store the link beside the article title and alt text in a content sheet. A developer could note whether the image is only for testing or expected to remain available in production. These small habits improve traceability. It is also sensible to review older public image links from time to time if they appear in important pages, because links can become unnecessary even when they still work.
Frequently Asked Questions
Beginners often have similar questions about direct image links, so here are practical answers in one place.
What is a direct image link?
It is a URL intended to reference a hosted image so the image can load directly when the URL is used or opened.
Is a direct image link the same as a webpage link?
Not always. A webpage or viewer link can open a page that contains the picture plus other interface elements, while the direct URL points to the image resource expected by many embeds and image fields.
How do I know whether my link is direct?
Paste it into a new browser tab and see what loads. If you get the image itself, you likely have the correct type; if you get a gallery or information page, look for a dedicated direct-link field.
Do I need coding knowledge?
No. For normal sharing, uploading and copying the generated URL is enough. Coding only becomes relevant when you want to embed the image manually in a webpage or application.
Can I use a direct image link in HTML?
Yes, when the hosting setup permits it and the URL is accessible. An HTML image element can use the hosted address as its image source.
Can I use the same link more than once?
Usually, yes. One of the main advantages of hosting an image is that the same URL can be reused in different places as long as the image remains available and the destination platform accepts external image URLs.
Why does my direct link stop working?
Common reasons include deleting the image, using an expiring upload, copying the wrong link, access restrictions, or changes to the hosted resource.
Should I upload confidential documents or private photos?
Only when you fully understand and accept the privacy settings and sharing implications. For sensitive material, prefer controlled storage and access rather than a public image URL.
What if a website rejects my link?
Check whether it requires a specific image format, HTTPS URL, direct file address, maximum dimensions, or its own upload process.
Can I share GIFs the same way?
If the host and destination support GIF files, a hosted GIF can also be shared through a generated link.
Should I keep the original file?
Yes. A hosted link is convenient for distribution, but your original image should still be kept in your own storage if it matters.
Does a direct link automatically make an image public everywhere?
No, but anyone who can access a public URL may be able to view and redistribute it, so think carefully before sharing sensitive content.
What is the easiest habit to remember?
Upload, copy the direct link, open it in a fresh tab, and check the result before sending it. That simple four-part test solves most beginner problems and helps you distinguish a usable image URL from a normal page link.
Can a direct image link be opened on another device?
Yes, if it is publicly accessible and the other device has internet access, the same URL can normally be opened in a compatible browser.
Does copying the URL reduce image quality?
Copying a link does not itself change the image; quality depends on the version that was uploaded and any processing performed by the hosting service.
What should I do if the image looks blurry?
Check the original file first, then confirm that you did not upload a low-resolution copy or screenshot thumbnail.
Get Your Direct Image Link in Seconds
Getting an image link in seconds comes down to having a repeatable workflow not mastering something complicated. Start with the image. Make sure it is safe and accurate. Then upload it to a service that creates image URLs. Copy the direct-link option. Open a tab and check the link. Use it wherever needed—on a website in a chat on a blog in a forum in a support ticket or in a project. After doing this a times the steps become second nature.
The biggest benefit is speed and efficiency. One upload gives you a link. That means you don’t have to attach the image again and again. You avoid problems when moving visuals between platforms. For a business this makes daily tasks easier. Sending product previews becomes faster. Reporting website issues becomes clearer. Answering customer questions becomes more visual. Sharing design revisions becomes smoother. Documenting technical problems becomes more accurate. For a blogger or content creator a direct URL makes embedding images simpler. It also helps with collaboration. For a developer a direct link offers a source for testing, previews or documentation when needed. For an user it’s a simple way to turn a local image into a shareable online address.
Combine speed with care. Never let the convenience of an upload cause you to share private information. Do not use an image link for sensitive material. Keep your files. Respect copyright and privacy. Always verify links before publishing them in long-lasting content. If the image will show up on a business website think about performance, dimensions, accessibility and whether hosting the image externally is the choice for the long term. A direct link is a tool, not a replacement for a solid image-management plan.
When you need a practical result the process is hard to beat. Upload once. Copy once. Reuse the link where it works. If you’re open ImgBly. Pick an image you can safely share. Complete the upload. Copy the image link. Test it before sending. That small verification step is what turns an upload into a dependable workflow. The time a client asks for a screenshot URL a form requests an image address or a team member needs a visual reference—you will know exactly what to do.
Use the checklist in this guide. Avoid mistakes. Treat every URL as shareable. With those habits getting and using an image link stays fast, simple and professional—no matter if you’re on a desktop, laptop, tablet or phone.
You can also make the workflow even better by preparing images of time. Keep brand graphics, approved product images and support illustrations in folders. That way the right file is easy to find. Use descriptive filenames. Keep master copies at their quality. Create web-ready versions when needed. When an image changes avoid mixing new versions under confusing names. Use version numbers or dates. If you work with others note whether a direct link is public client-facing or only for internal use. This context prevents reuse in the wrong place.
The technology, behind an URL may be simple.. Good file management makes the whole experience much more reliable.

Comments (0)